

On this week's episode of Onboard Lifestyle we drill into the hull of our custom 435 catamaran SV basik near the waterline...measure thrice drill once. This ...
Closed Captions (CC):
[Music]
good morning welcome back to SB basic
look at this seasons are changing it's
foggy on Lake Union
kind of neat but that forces me to get
projects done inside so that's what I'm
doing gonna get some plumbing done today
so you know what that means
off to the marine store get some parts
feels a little crisp this morning
these mayflies you know it's October
when these guys are all over the decks
crows land on the deck and just walk
around all morning eatin those guys okay
let's go
let's get to work
ran my errand got my parts
time to get busy doesn't look like this
fogs gonna burn off today that's okay
I'm inside
now that have my parts let's take a look
what we're gonna be doing okay back in
the master head I want to button this up
get these sinks operational so I'm gonna
cut in the faucets permanently mount the
sinks everything's still just loose we
get get these countertops secured down
put in the drain package in there and
well let's go over this one over light
over here bringing up of drains down and
there's my target hole right there and
that gets me enough drop to to actually
have nice drainage but before I plunge a
two-inch hole through the hole
I want to go double-check and calculate
out from the outside where that will be
coming through if I can get it down
another inch I would love to so let's go
outside and make a couple measurements
let's
head under the boat it's scary over
there over the years we've replaced the
decks and got them all painted we've
done all our repairs on the sides
painted those actually we were only able
to paint down to the rub rail I didn't
want to go any closer to the water till
we Hall odd and we haven't painted under
the boat I just don't want to do that
sit in the water it's gonna make quite
the mess I want to make sure we're on
the hard in a nice controlled
environment for that so you a little
treat coming up here we're going under
okay first thing I want to do is measure
the bridge decks clearance from the
water to the bridge there
we're going to working in this area
right over here
at 27 inches here is the old rules for
that head I'd fill them from the inside
when we haul out I'll put a layer of
class cloth over this I have multiple
layers on the interior now so it's
roughly gonna be in this position but I
want to drop them down closer to the
wand on it because that quite a bit
deeper sinks so if I have a 27 inch
bridge net clearance own to be up six
inches I want to stay probably 21 22
inches off the bridge deck down that's
my goal at least now the runner here you
can see
some of the paint look at this looks
like it's just been primered never had a
topcoat put on we'll be handling that
next spring
okay
want to do one more thing I'm gonna run
a light through the hole and have a my
market out next thing I want to do is
get an accurate visual through the hole
we're in a 14-foot kayak something nice
about our boat I can pivot a 14-footer
like a pine pivot at 16-under here
let's get over in position here
okay here's the old through-hole was
either this or this one I'm not sure I'm
gonna have to Emma mark these out on the
inside okay Emma take the pencil when I
shine it through and just put a circle
right on the hall ready make a mark
right there you see it okay circle it
okay now here's the other one
can you see that one okay I'm gonna go
one more is this one in the cabinet
right there okay can you give your
pencil with you
okay I'm gonna shine the light ready
when I shine it make a circle right
where you see that right on the wall you
see it okay now I'm gonna go straight
down
right there make a circle right there
okay how about right right there can you
see that one yes put a circle right
there
you got it okay no it's somewhere else I
I remember seeing a circle
wait yeah the first one idea is right
here right here yeah okay dump the
camera okay let's do one right here
okay you can take the light off of it
yeah I got it
okay okay that's it thank you okay
I circled the old through-hole from the
insects I couldn't tell where it was
we've glossed over it and we've made our
target mark on there and that will be
not six six to seven inches above the
waterline so we'll be safe
here was the first mark that I made if I
shifted it over here six inches so I'd
be lined up better with the drain so
getting a visual on this now my target
sighting down it looks like about four
inches below the bottom of the sink
that'll give me plenty of drain and what
I'll do is come down here and make a
loop and out before I drill an inch and
a half hole I'm gonna put a guide hole
with a eighth inch bit through here
first and then go out one more time and
double-check much easier to stop the
water coming in with this hole it would
be an inch and a half hole
[Music]
okay there we go I'll do this under Bowl
sinks then head out there and if I need
to do a fine adjustment up or down I
have to hold each and a half radius to
to work with so just to run it evenly
off the bootstrap I'm a fudge one up and
a third down and eight
here's my through-holes
it's gonna go quick there's a little bit
of chop on the lake so I wanna drill and
get these in fast I've plugged these
with foam just so after I install them
in case a weight comes by and splashes
up its not coming in the boat it's
actually an inch and 3/8 hole that'll be
drilling so let's get this done and do
it quick I'll need to Emma's help on
this
[Music]
there we go
[Music]
waters right there let's get going what
I'm gonna do
let's put sealant on the exterior first
get it in here and Emma will just hand
tighten it I'll let it cure overnight we
don't back those threads off and seal
the interior and then have double seal
and it looks good we'll let that cure
overnight I'll back it off and seal this
side as well
[Music]
and there's the second one
okay head out and get this other one in
and just like that it's the next morning
the through-hole fittings dried
overnight so I had just backed those out
and put sealant on the opposite sides
and just hand tighten those again so
while those are drying I'm gonna prep
these sinks get the drain baskets all
installed and tear this countertop out
so I'm just gonna bring this all up in
the salon so I have a little more elbow
room
sinks are out ready to roll
here's the drain baskets I'll be putting
in and I needed these additional
fittings to neck it down to a
three-quarter inch drain hose and I have
that right here these are my fittings
for the water leads the hot and cold
that'll come off my manifold and feed
the mixers right here here's the
three-eighths lead so I think I'm all
set I have everything I need
these actually will end pretty quick one
thing I really like these are scam
fixings and I got the scam Vic drain
these things fit perfectly they were
made to fit these things I installed
this same drain system and the upper
head we've had that in for four years
now it's been bulletproof can't complain
at all they're going real quick
please put that on there yeah
and that
put your little set screw in there the
system has its own gasket in the
direction doesn't even suggest putting
out on tape on but I did anyway
I just think it grabs this a little bit
better there is an internal seal in here
so it's just hand tight that's same with
this one
and that's it goes from the drain down
to my three-quarter one more and I'll be
said
the next step is actually laying up
where the possums are going to go
purchase these about six years ago
they'd just been in storage
one of those defenders all a lot sales
and these are the same box inside used
in other places on the boat and
happiness
I mean quality feels great
don't break these apart and figure out
the hole I need a drill I don't remember
but it doesn't say I'll just figure it
out
I'm going to place the faucet right in
here and I measured the other faucet and
it runs three and a half inches in on a
45 now I'm just gonna mark it out with a
small little rope now I just scored the
underside of the counter and now I'll
drill the face
[Music]
that lined up nicely now that'll mean
another mess let's take a look at this
both faucets are drilled in I'm not
going to mount them now because this is
rock worn out so I'll put a little poxy
on that and let it cure overnight I'll
put the faucets in in the morning I can
work on the sinks though and getting
this countertop permanently installed
and our drains so plenty to do we'll
just keep pushing
[Music]
okay now I need to prep the underside of
the counter just a few things to do
okay compass did you see what I just did
huh I took this it's actually a closed
cell foam and it's says it's made for
marine use I've been using it all over
the boat what I have to do is under the
counter this is all treated with epoxy
and if water ever got in it probably
wouldn't do anything but I'm gonna put
this bead around just in case any water
gets under the counter I don't want to
sit in here for years I still will be
sealing the perimeter of this with
silicone and sealing the perimeter of
the sink with silicone just to keep the
water out but just another little way to
keep the core nice and dry and clean
before I bring the counter down here for
the very last time I need to think about
how I'm going to secure this down
actually I'm going to secure from inside
the cabinet up into the counter and I
want this removable I'm gonna put a set
screw in each corner this corner I don't
need to worry about because when this
clamps down it'll hold this nice and
secure with that foam on there and
securing this down this will never slip
now it's just a matter of fastening it
down could be tricky finding the whole
way up in here
Oh one down three to go
now that the counter is secured let's
take a look at this
it's not going anywhere it's going to
press that foam down and it is gripping
hard I'm gonna silicone tonight but I
don't want to be working in here while
there's live silicone so what I'm gonna
do now is get the drain going
[Music]
train is all and I've been through a
couple straps in here secured this hose
just in case you know we use this what
we will use this for a storage locker as
well I don't want this hose being loose
in here keeps it from ever working
itself free okay we're down let's do the
other sink just a few more things I want
to get done tonight
now that bolts drains are in mixed up a
little epoxy little best system with a
just a touch of black pigment I want to
treat these let these fire off tonight
so I can get the faucets in then the
last thing I'll do is silicone around
this perimeter and around each sink just
a little fine beat
everything's taped off and ready to
apply the silicone we'll see how well I
do this could be messy but the tape
helps contain it
it's time to get this tape off here it's
starting to set up fast
I'm liking it looks good just look at
the speed nice and clean let that cure
overnight let the epoxy care and button
this project up tomorrow we'll have
running water it is now the next morning
and it's gloomy out just eerie calm dark
oh well a lot of my project all the
silicone is set up the epoxy kicked off
so it's good these faucets in the
hardest part of these is access it's a
small little cabinet through the hole
here there we go and now reaching under
and blindly getting this fastener on
here we go wasn't too bad let me give it
a couple turns and this should do it
make sure it's straight you got it sewn
there
I'll snug it up and I'll be done
I know I'm gonna get a firestorm of
comments about having an outlet this
close to a sink but didn't have many
options and this is I've made my own
GFCI outlet this this outlet here is
independent from all other outlets
I have three of these onboard I have
three outlets near sinks and all three
of those have an independent trip
mounted off the board so it's not
connected to any other leads but with
that said I'm still gonna move this to
this position just get a little further
away because I don't want damp hands
near this so I will move to the outlet
over here oh do that here in the next
couple days faucets are in starting to
look a little more finished so let's get
these water leads in to do that we start
in the water closet I don't have a door
on this one yet let me get some look let
me get some light on this I'm gonna
build up a translucent door so I could
see though the water controls pretty
simple system here's our dock water
coming in we are actually on city water
pressure with this in the dockside
position with a pre-filter just for a
hard sediment comes in and actually
splits here this goes to our cold system
this runs through our hot system so I
could even turn these off independently
here if I want if the hot water tank
springs a leak I could turn the hot
water off and still have a cold water
system or vice versa
I switch this dock off and I switch the
tank on now I'm running from the tanks
these are pumped from the tanks up to
here Kuehl inner tanks up here and will
run through the same system and I still
have the same controls now let's go down
below
here's the water tank and here's the
manifold so the one water lead comes
straight to my cold water lead the hot
lead goes into the hot water tank and to
my hot lead now from here I can
independently turn off and on anything
on board let's say the galley sink
Springs elite I could turn off the
galley sink I can off the hot and the
cold so what we're doing now is I have
two more stations to put in here's the
head down sinks right here so these will
come right off of this here's the shower
that's going in in the future and I'll
put that in when we put that in so all I
have to do now is just tap into right
here right here run my leads to the sink
this I made this slot here for it's
gonna be for electrical and plumbing
chase and I will build a door on this
but this plumbing needs be held to the
wall so I'm gonna put these little
straps on finer B's six seven inches
across this run that way I can run the
water in
[Applause]
[Applause]
now it's just a matter of okay
leaves are tight into the sink through
here and now they're going to go into
this cabinet and through a chase that
I've built that goes under the stairs
and into the cabinet so it's just a
matter of pulling this through and
making that last connection
three Ito's onto a pecs fitting I just
heated up a little bit it's a tight fit
but it goes right on just got to get it
started
oh there you go
put a hose clamp on that it's not going
anywhere okay my connections are made
now it's time to pull these plugs first
they kill the water on the boat here's
my main coming in ah I'm gonna kill
everything everything's off now pull the
cap off and hopefully not too much
water's in the system here
just a few drips not bad at all
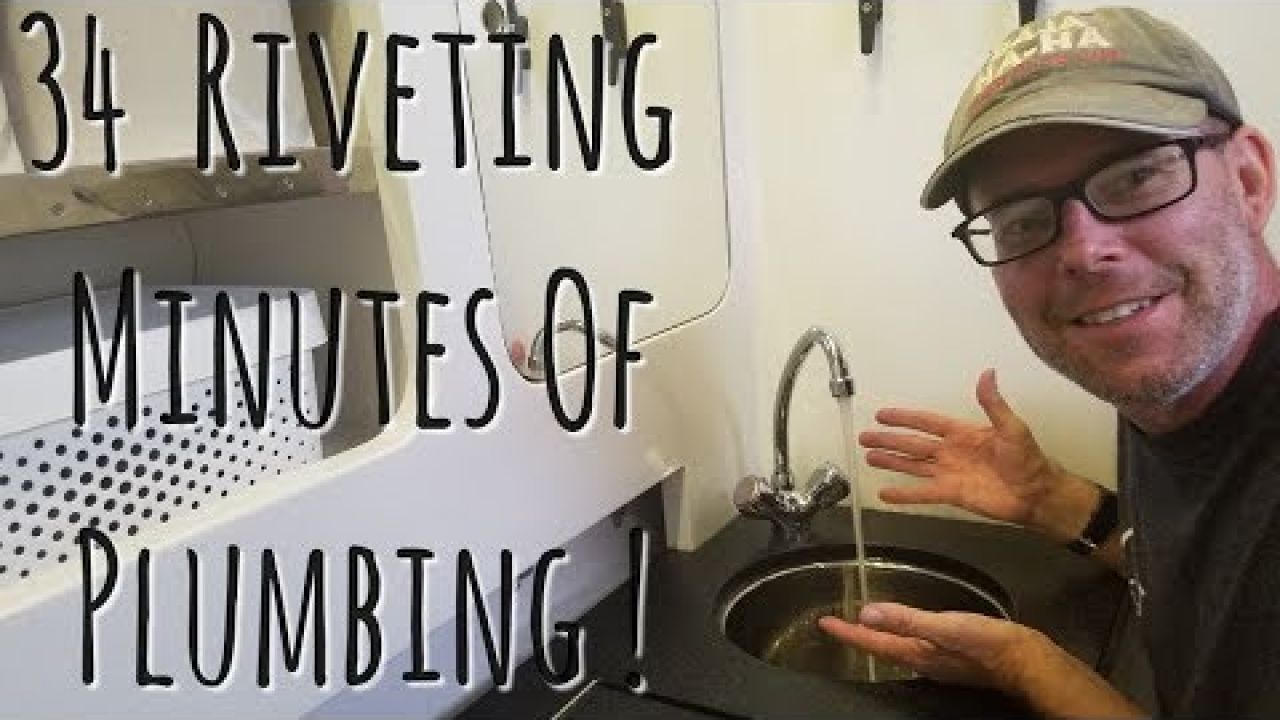
but it is time to fire these up waters
on hot cold on just turned on my
manifold no drips no sprays no noise
yeah let's see how these things work
looks like I get to take another post it
off the board I love doing this
[Music]
remember if you liked the video then
leave a like and subscribe if you really
like it then don't forget to check our
patreon page in the link below
come back next week to see one of our
cool new videos see them
Uploaded by:
Onboard Lifestyle
•
Category:
Boat Building/Maintenance/Repair, Instructional
•
Added on
02 November 2018
•
Location:
Lake Union, Washington State
Description
On this week's episode of Onboard Lifestyle we drill into the hull of our custom 435 catamaran SV basik near the waterline...measure thrice drill once. This...
Closed Captions (CC):
[Music]
good morning welcome back to SB basic
look at this seasons are changing it's
foggy on Lake...
Closed Captions (CC):
[Music]
good morning welcome back to SB basic
look at this seasons are changing it's
foggy on Lake...